Projects/Edu/Artikulate/LanguageCourses
This article explains how to create and work on courses. The explained concepts follow the course life cycle and we refer to technical terms from that description. For creating courses or working at existing ones Artikulate must be configured to work on a course repository. If that is done, you can open Artikulate and use the internal course editor as explained in the following.
Create a Course
There are two possible ways how to create courses:
- create a course independent of a skeleton
- create a course from a skeleton
When creating a course from a skeleton, usually one wants to maintain a course prototype (=skeleton) that than is used to provide courses for different languages.
Course from Skeleton
The Basic Course Skeleton
Currently, the Artikulate team uses a special course skeleton (called "basic course skeleton") to coordinate creation of basic language courses. The basic course skeleton contains units prototypes and phrases for the topics
- Numbers
- Alphabet
- Tourism
- Family
- Sport
- Entertainment
- Clothing
- At the supermarket
- At the doctor's
- Time and Dates
- Weather
- Countries and Cultures
- At the restaurant
- In a Zoo
- Pets
- At a Job Interview
- At a bank
- During an Emergency
The goal is to cover basic vocabulary from different areas that are important when learning a new language.
Create the Course
 In order to create a new language course, open the course editor (the top-left tool button). Then you have to perform the following steps:
- The slide bar with two options will appear and you need to choose “Edit courses” option.
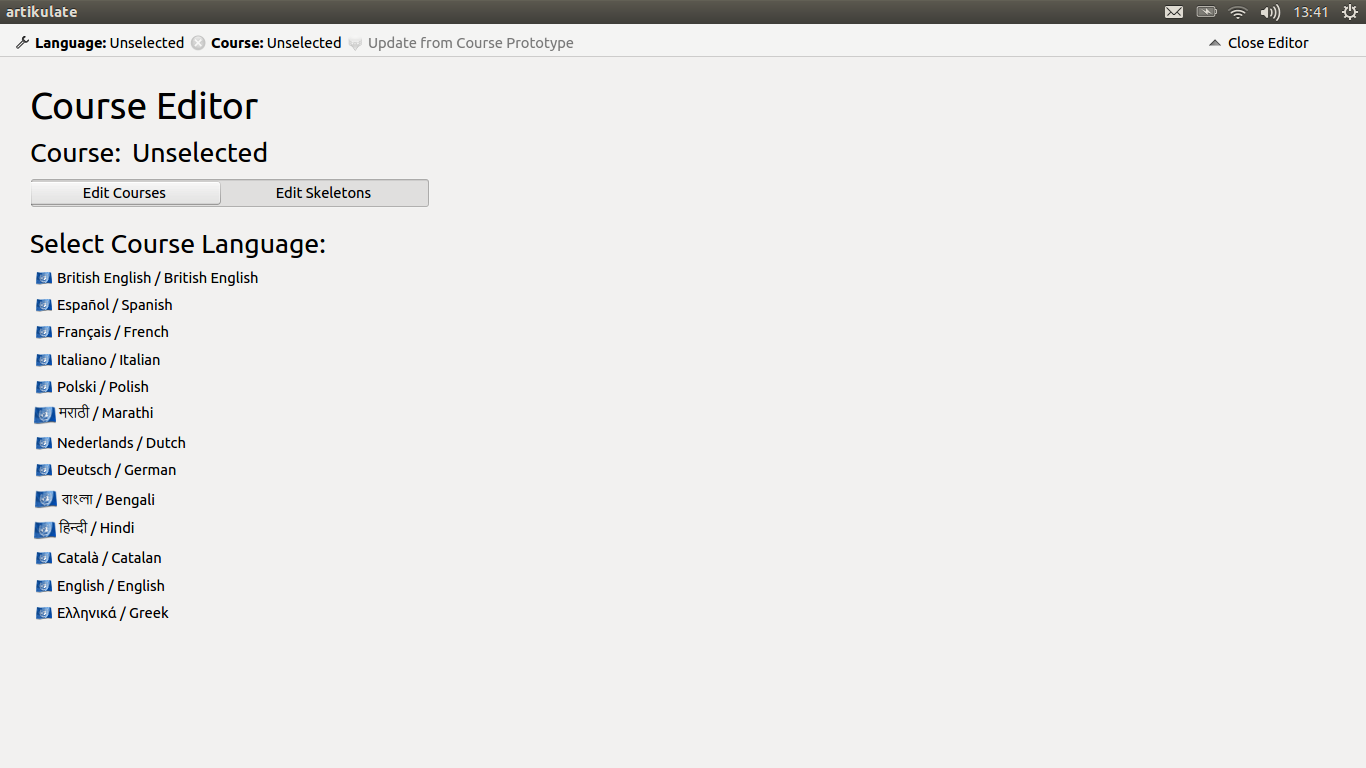
- The list of supported languages will appear (as shown on the screenshot above). Choose the language you want to create a new language course for.
- Then click on “New course”and you will see a new popup window appearing. Select the appropriate language and the course skeleton for which you would like to create a language course and click OK. (If the language that you would like to add a course for is not supported yet, you will need to create a language phonology first (see below).
- Now, you need to select “New Course” that should appear.
- The next step it to synchronize the language course with the skeleton. In order to do it you need to choose "Update from Course Prototype".
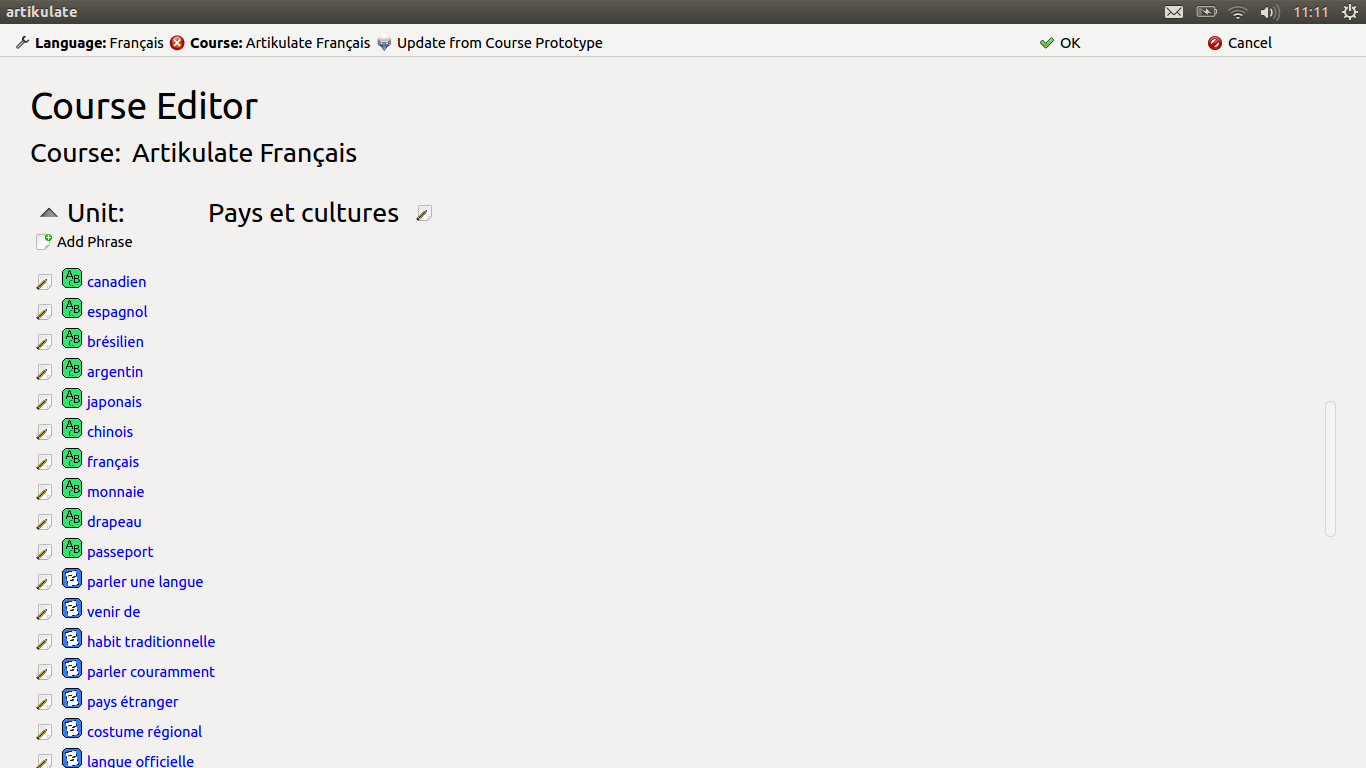
After this you should see the course with the phrases in English as they are in skeleton. Save your changes by pressing OK button at the top of the screen. You can see that now all the phrases are in English and they are tagged as "unknown". This means that they still need to be translated into appropriate language.
Translate Course Phrases
Once you have created a new language course and updated it with course skeleton you can start translating your phrases.
- Go to the dialog "Course editor" (top-left button) and the choose “Edit courses” option.
- Choose a language for which you would like to do translation and the appropriate course.
- You should see a list of units on the left side of your screen.
- Choose one of the units to see the phrases associated with it.
- To edit a phrase open it and replace existing English phrase with a translation.
- Once you are done change the status of the phrase to translated. Sometimes you will also need to change the type of the phrase e.g. from word to expression, etc.
- Accept your changes to this phrase by clicking the accept button on the right side of the phrase.
You can now proceed with editing other phrases. Remember to save all changes to the course by pressing the "OK" button at the top menu bar.

Create Course Independent of Skeleton
In order to create a new language course independent of skeleton you need to follow the intructions below.
- Open the course editor (the top-left tool button) and choose “Edit courses” option.
- The list of supported languages will appear. Choose the language you want to create a new language course for.
- Then click on “New course” and you will see a new popup window appearing. Choose a name for the course, select the appropriate language, fill in the identifier and click OK.
- Now, you will see your new course in the list.
- You can edit the course content by adding new units ("New Unit" button in the course) and phrases ("New phrase" button within the unit).
When you are done with the course creation save your changes by pressing OK button at the top of the screen.
Add Recordings
To add the recordings you need to follow similar instructions as for translations.
- Open Artikulate and go to the dialog "Course editor" (top-left button) and the choose “Edit courses” option.
- Choose a language for which you would like to do recordings for and the appropriate course.
- Open one of the units and you will be able to see a list of phrases associated with it.
- In order to record a phrase expand it and use the record button in “Create New Recording” section.
- After you are finished you can listen to what you have recorded by pressing the play button.
- If you like the recording choose “Replace existing recording” option or otherwise record yourself again.
- When you done with the phrase, change its status to “Completed” and close the phrase by clicking the accept button next to it.
You can now do more recordings but you will need to save your changes before exiting the program by choosing the OK button on the top of the screen.

Tagging phonemes for phrases
To tag phonemes you need to follow similar instructions as for translations and recordings.
- Open Artikulate and go to the dialog "Course editor" (top-left button) and the choose “Edit courses” option.
- Choose a language for which you would like to tag phonemes, appropriate course and unit.
- You will be able to see a list of phrases associated with a unit you have just opened.
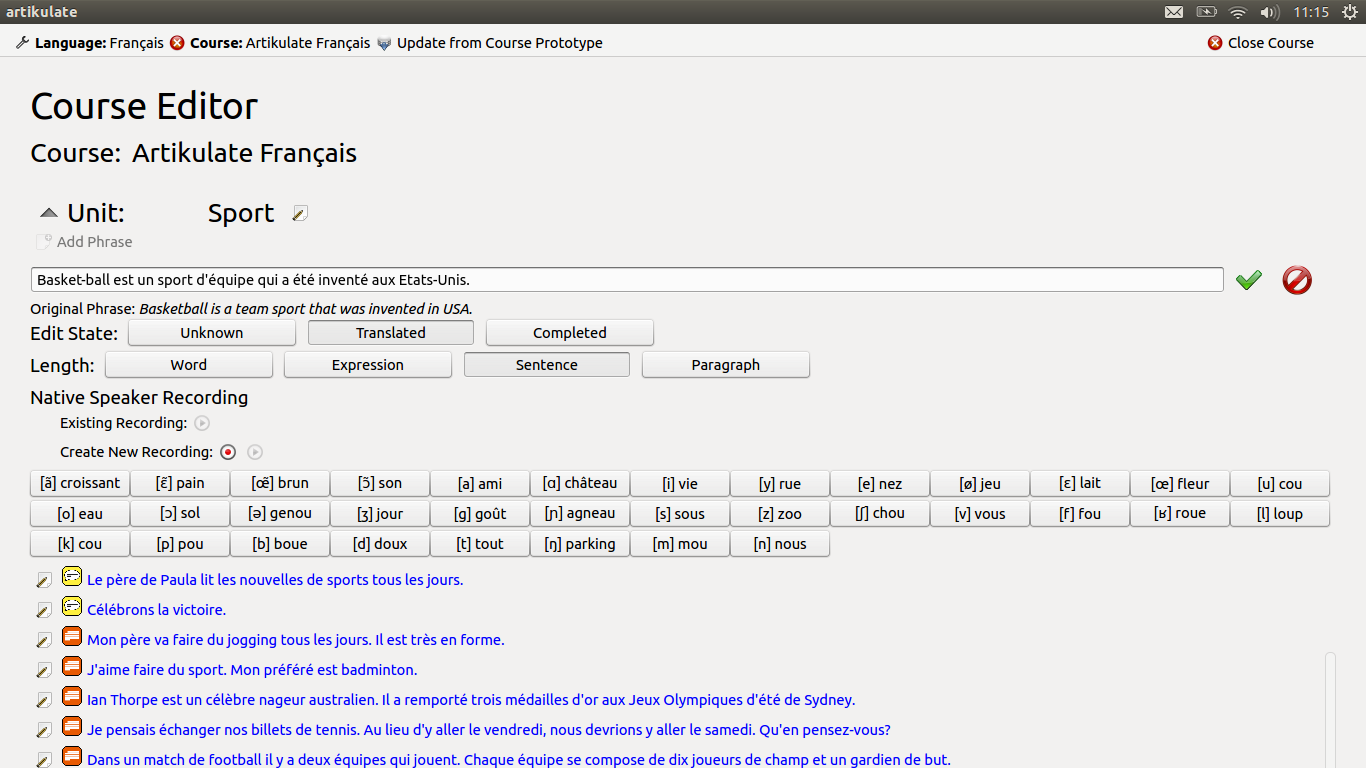
- To tag a phrase open it and at the bottom of the page you will see numerous buttons with phonemes associated with a language you are editing.
- Choose phonemes that the phrase consists of. For example English word "cat" consists of three phonemes 'k','æ' and 't'.
- When you tagged all the phonemes for a phrase accept changes by clicking the accept button.
You can tag more phrases but you will need to save your changes before exiting the program (OK button on the top of the screen).
Create a Language Specification (Phonology)
Artikulate uses language specifications (called "phonology") that define lists of available phonemes for a language. In short, a phoneme is a natural sound of a language. (For a detailed explanation see e.g. [1].) We need such a phonology for every language to be able to tag phrases by the sounds that are specific to this language. Using phoneme tags for phrases enables users to select specific phonemes that they want to improve and hence allows a more focused training.
The already available languages can be found in the subdirectory data/languages.
For creating a phonology, the following steps are needed:
- create a new XML file in data/languages according to the language name
- create phonology
- add entry for the new phonology to data/languages/CMakeLists.txt
- build and install Artikulate, then run unit tests to check correctness of phonology
