Languages/Python/PyKDE WebKit Tutorial/Part2


The previous application was Qt only. Now we want to go up market and turn our application into a KDE application.
#!/usr/bin/env python

import sys

from PyKDE4.kdecore import *
from PyKDE4.kdeui import *

from PyQt4.QtCore import *
from PyQt4.QtGui import *
from PyQt4.QtWebKit import *

appName = "python-kde-tutorial"
catalog = ""
programName = ki18n("PyKDE Tutorial")
version = "1.0"
description = ki18n("A Small Qt WebKit Example")
license = KAboutData.License_GPL
copyright = ki18n("(c) 2008 Canonical Ltd")
text = ki18n("none")
homePage = "www.kubuntu.org"
bugEmail = ""

aboutData = KAboutData (appName, catalog, programName, version, description,
license, copyright, text, homePage, bugEmail)

KCmdLineArgs.init(sys.argv, aboutData)

app = KApplication()

web = QWebView()
web.load(QUrl("http://kubuntu.org"))
web.show()

sys.exit(app.exec_())
This is longer than the Qt only version but not much more complex. We need a couple of new import lines to give us access to PyKDE.
Then we need to define some meta-data about the application. Most of these are just text strings. Some are translated using ki18n() and licence uses one of several options from KAboutData.
We pass this meta-data when creating a KAboutData object. Next we need to create parse command line arguments using KCmdLineArgs.init(), this offers very powerful command line argument options, in this simple application we do not use it however it is still required.
Instead of a QApplication we create a KApplication. The rest of the programme is the same.
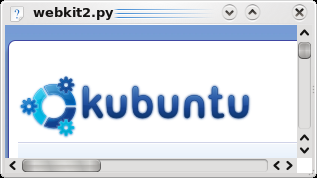
The application looks much the same except KDE will use the oxygen "unknown" icon in the corner.

