Marble/Runners/DisplayGeoDataPlacemark: Difference between revisions
CezarMocan (talk | contribs) No edit summary |
CezarMocan (talk | contribs) No edit summary |
||
| Line 16: | Line 16: | ||
[http://api.kde.org/4.x-api/kdeedu-apidocs/marble/html/classMarble_1_1GeoDataPlacemark.html GeoDataPlacemark] is a class which implements the features of [https://developers.google.com/kml/documentation/kmlreference#placemark KML's Placemark]. Basically, it represents an interest point (a simple point or a more complex geometry) on the map, which has some information attached. | [http://api.kde.org/4.x-api/kdeedu-apidocs/marble/html/classMarble_1_1GeoDataPlacemark.html GeoDataPlacemark] is a class which implements the features of [https://developers.google.com/kml/documentation/kmlreference#placemark KML's Placemark]. Basically, it represents an interest point (a simple point or a more complex geometry) on the map, which has some information attached. | ||
In order to add a GeoDataPlacemark to our widget, we will use the [http://api.kde.org/4.x-api/kdeedu-apidocs/marble/html/classMarble_1_1GeoDataDocument.html GeoDataDocument] class, which is a container for features (including placemarks) and styles. | In order to add a GeoDataPlacemark to our widget, we will use the [http://api.kde.org/4.x-api/kdeedu-apidocs/marble/html/classMarble_1_1GeoDataDocument.html GeoDataDocument] class, which is a container for features (including placemarks) and styles. To make the Document visible, we need to add it to Marble's TreeModel, as shown in the example below: | ||
| Line 67: | Line 67: | ||
</source> | </source> | ||
If things go fine, execute <tt>./my_marble | If things go fine, execute <tt>./my_marble</tt> and you are going to see the placemark of our newly created Marble Virtual City. | ||
[[Image: | [[Image:PlacemarkTask.png]] | ||
The data we have set for our city (Population and Country) also appear, when clicking on the placemark. | |||
[[Image:PlacemarkTask2.png]] | |||
Revision as of 15:38, 24 May 2012
Editing Projects/Marble/MarbleCPlusPlus
Languages: عربي | Asturianu | Català | Česky | Kaszëbsczi | Dansk | Deutsch | English | Esperanto | Español | Eesti | فارسی | Suomi | Français | Galego | Italiano | 日本語 | 한국어 | Norwegian | Polski | Português Brasileiro | Română | Русский | Svenska | Slovenčina | Slovenščina | српски | Türkçe | Tiếng Việt | Українська | 简体中文 | 繁體中文
| Tutorial Series | Marble C++ Tutorial |
| Previous | Tutorial 10 - Using the GeoPainter in order to paint GeoDataLineString objects |
| What's Next | Tutorial 12 - Yet missing |
| Further Reading | n/a |
We have seen in the previous tutorials how basic geometry can be painted using the GeoPainter, now let's see how we can make it hold information too!
GeoDataPlacemark is a class which implements the features of KML's Placemark. Basically, it represents an interest point (a simple point or a more complex geometry) on the map, which has some information attached.
In order to add a GeoDataPlacemark to our widget, we will use the GeoDataDocument class, which is a container for features (including placemarks) and styles. To make the Document visible, we need to add it to Marble's TreeModel, as shown in the example below:
#include <QtGui/QApplication>
#include <QtGui/QTreeView>

#include <marble/MarbleWidget.h>
#include <marble/GeoDataDocument.h>
#include <marble/GeoDataPlacemark.h>
#include <marble/GeoDataTreeModel.h>
#include <marble/MarbleModel.h>

#include <cstdio>

using namespace Marble;


int main(int argc, char** argv) {

	QApplication app(argc,argv);

	// Create a Marble QWidget without a parent
	MarbleWidget *mapWidget = new MarbleWidget();

	// Load the OpenStreetMap map
	mapWidget->setMapThemeId("earth/plain/plain.dgml");

	GeoDataPlacemark *place = new GeoDataPlacemark( "Marble Virtual City" );
	place->setCoordinate( 11.1, 48.41, 0.0, GeoDataCoordinates::Degree );
	place->setPopulation( 1024 );
	place->setCountryCode ( "Germany" );

	GeoDataDocument *document = new GeoDataDocument;
	document->append( place );

	// Add the document to MarbleWidget's tree model
	mapWidget->model()->treeModel()->addDocument( document );

	mapWidget->show();

	return app.exec();
}
Copy and paste the code above into a text editor. Then save it as my_marble.cpp and compile it by entering the following command on the command line:
g++ -I /usr/include/qt4/ -o my_marble my_marble.cpp -lmarblewidget -lQtGui -lQtCore
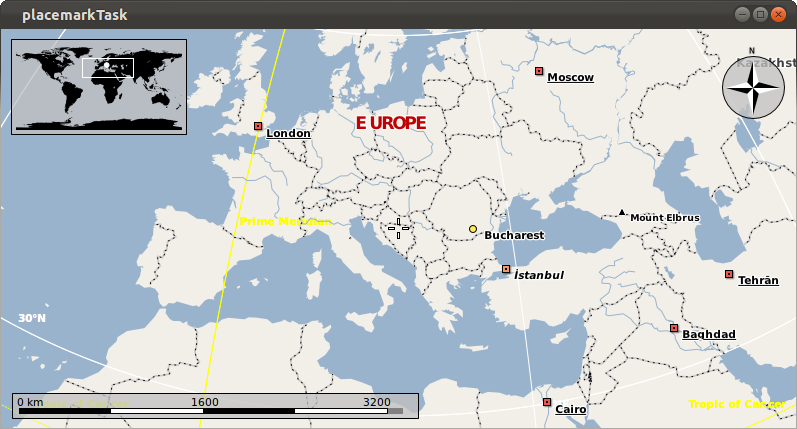
If things go fine, execute ./my_marble and you are going to see the placemark of our newly created Marble Virtual City.
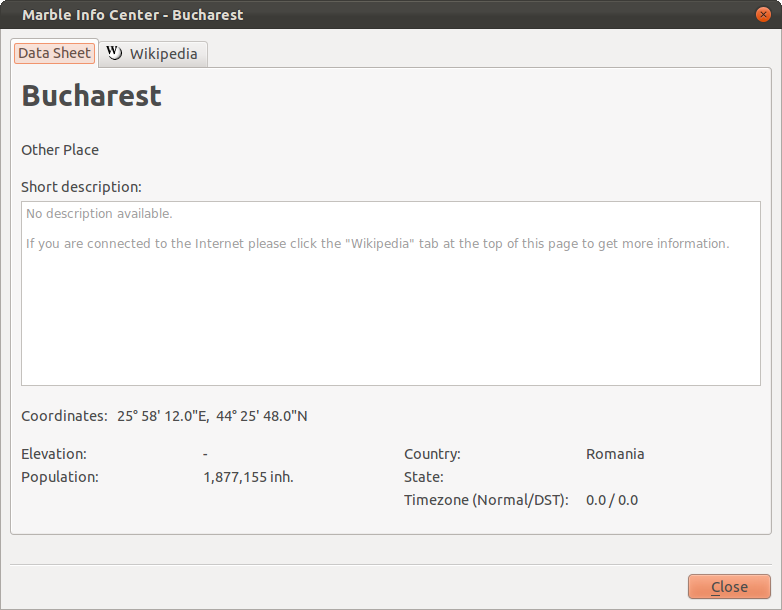
The data we have set for our city (Population and Country) also appear, when clicking on the placemark.


