Getting Started/Build/Historic/KDE4 Windows: Difference between revisions
No edit summary |
SaroEngels (talk | contribs) No edit summary |
||
| Line 102: | Line 102: | ||
The first KDE program you run should automatically invoke <tt>kdeinit4.exe</tt>, the KDE initialization app, | The first KDE program you run should automatically invoke <tt>kdeinit4.exe</tt>, the KDE initialization app, | ||
which starts background KDE applications and services like dbus-daemon, klauncher and kded4. | which starts background KDE applications and services like dbus-daemon, klauncher and kded4. | ||
http://techbase.kde.org/Projects/KDE_on_Windows/Installation | |||
The first time you save or open, another background application, kioslave, will start. | The first time you save or open, another background application, kioslave, will start. | ||
| Line 109: | Line 109: | ||
You can run <tt>kdeinit4 --list</tt> from a command prompt to see what processes are running. <tt>kdeinit4</tt> has other useful options documented elsewhere. | You can run <tt>kdeinit4 --list</tt> from a command prompt to see what processes are running. <tt>kdeinit4</tt> has other useful options documented elsewhere. | ||
== Fine-tuning | == [/Fine-tuning Fine-tuning] == | ||
Find the section now at [/Fine-tuning] | |||
[ | |||
[[Category: MS Windows]] | [[Category: MS Windows]] | ||
Revision as of 22:08, 9 June 2013
KDE Installer for Windows
You can use this installer to download and install the various binary packages that you need to run KDE applications on MS Windows. KDE is free and open source so you can build all the applications "from scratch" from their source code; but as a convenience for others, volunteers create these pre-compiled packages and make them available on the Internet.
Disclaimer These are early days for KDE4 on Windows, some programs work better than others and some fail to run altogether.
If you experience any problems please have a look into our mailing list.
You can also use the KDE Installer for Windows to install source code and the packages that you need to build KDE4 on Windows (although if you are building KDE4 on Windows you may prefer to use the emerge system to build KDE and its requirements from latest source); see Getting Started/Build/Windows.
Summary of Steps
- Download and save the latest version of the installer from here to a directory, e.g. C:\KDE4
- Run the installer, download and install what you need (see Download needed packages below).
- Try to run a KDE application from the windows start menu (see for KDE x.x.x Release entry)
Download needed packages
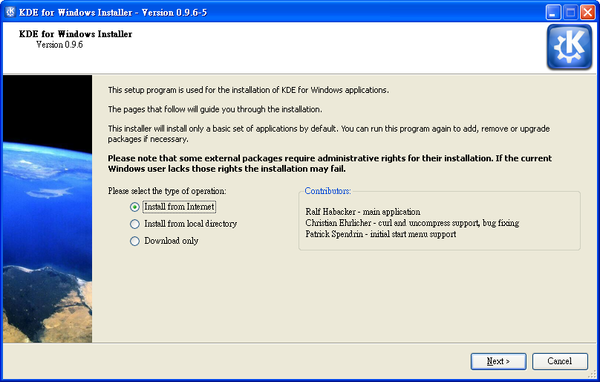
When you run KDE-installer for the first time, you'll see the welcome screen. Since it's your first launch leave the checkbox below unchecked.
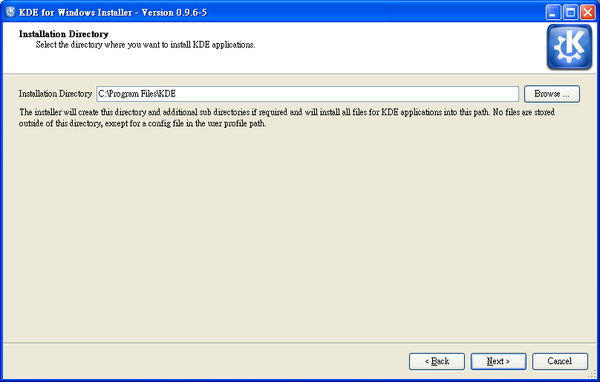
Proceed to the next screen, where you choose the KDE4 installation directory. It can be anything you prefer, e.g. C:\KDE4.
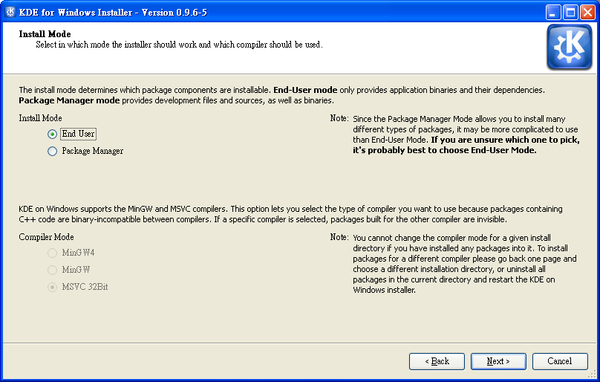
On the next screen, define who you are: End User or Developer. The End User installation installs only binary packages and libraries needed to run KDE application. Package Manager mode provides you also with the source code for all packages needed to build KDE from scratch.
Then you need to decide what compiler to use - MinGW or MSVC.
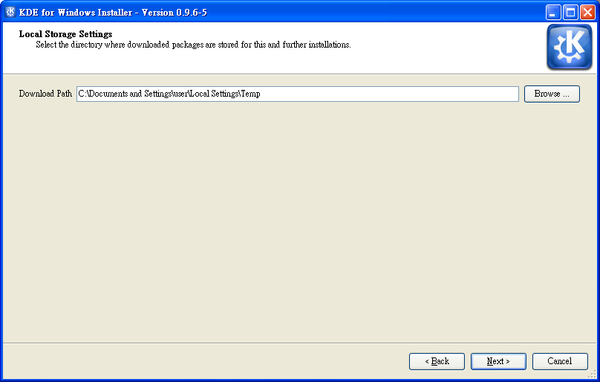
Proceed to the next screen and there choose the directory where all the downloaded packages will be stored. Let it be something like C:\KDE4-tmp or C:\KDE4-packages.
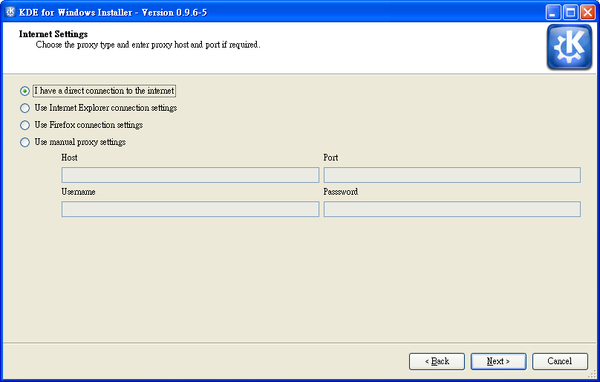
The next screen will ask you to choose your internet connection type, particularly whether or not you're using a proxy. If you don't use a proxy server, just click 'Next'. If you are unsure of whether you're using proxy or if you have web browser configured to work with it properly, choose the second or the third option, according to your favourite web-browser. If you'd like to set all the settings manually - choose the last option and go ahead.
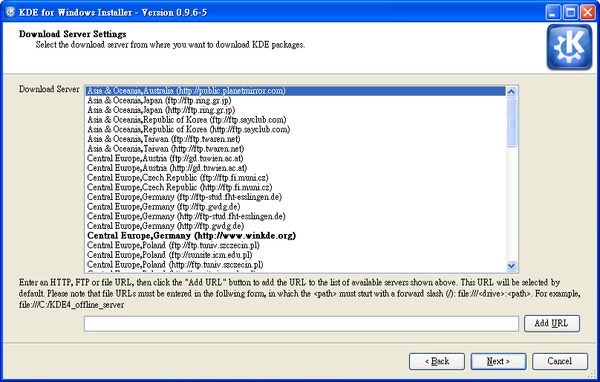
When you click the 'Next' button the (currently, rather short) list of available servers will be loaded and you could choose the one closest to you.
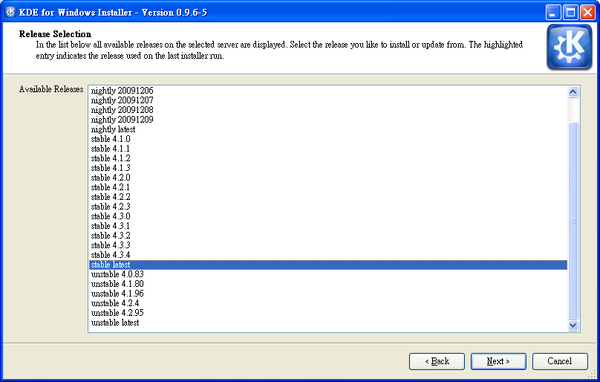
When you click 'Next', a list of available releases on the selected server will be shown. Depending on the server there may be stable and/or unstable release available. Some unstable releases may only be available from www.winkde.org because the kde mirrors provides only a limited range of unstable releases.
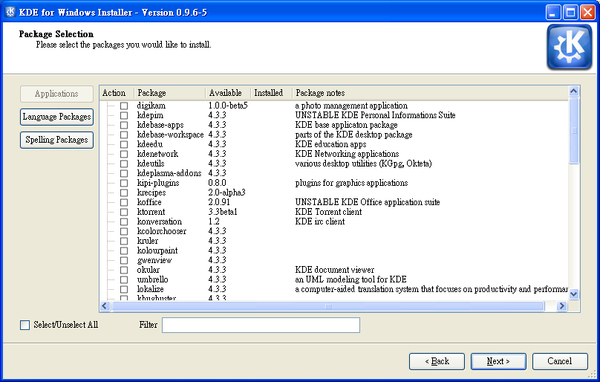
After selecting a release an a click on the 'Next' button, the list of all available packages will be loaded and processed, providing you with the list of package groups you can select for further installation. The short description next to each group of packages should make your choice easier. Select the packages you need. Proceed to the next screen.
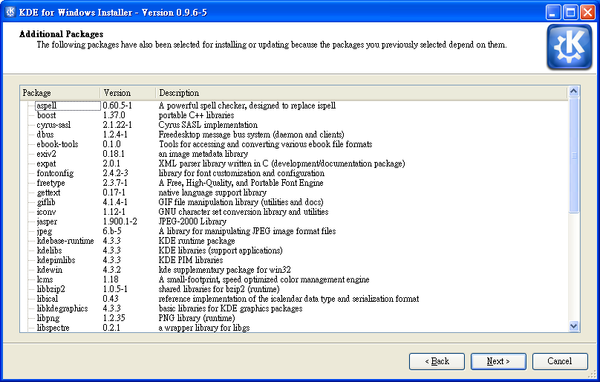
Here you can see all the required dependencies, or software necessary to support the choices you've made. Click 'Next' to download them all.
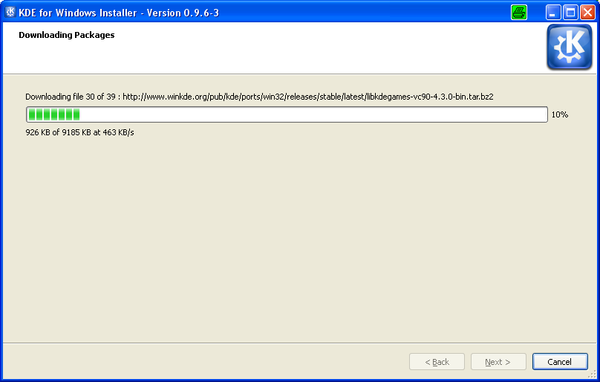
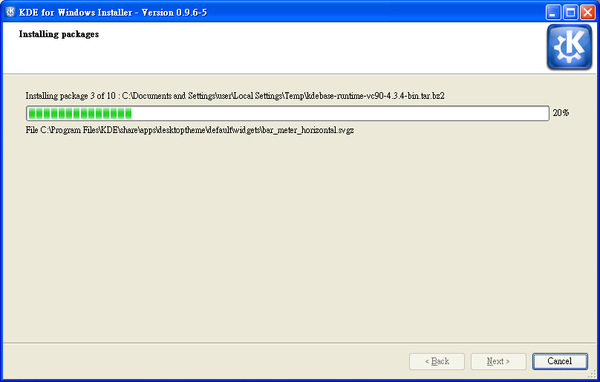
After all the packages are downloaded they'll be unpacked and processed by the installer.
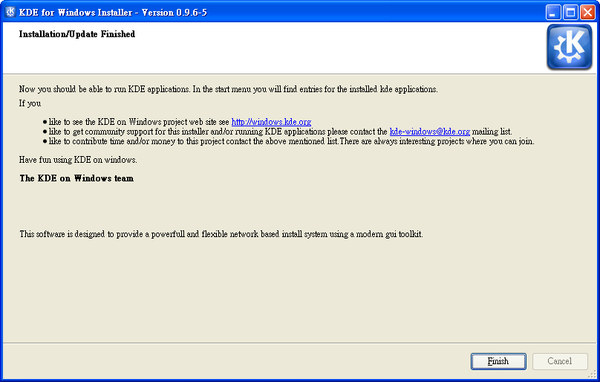
The final window will tell that your KDE installation for Windows is complete.
Issues with KDE Installer for Windows
If something goes wrong during installation, for example a file can't be replaced because it is still in use, the installer may still report successful completion. If you see any alert or failure message from the installer, when it completes, quit and re-run it.
If that didn't help and you think it's a bug, please report to [1]
Testing your installation
Navigate to the bin directory.
See if you can run the Qt program assistant.exe. Qt programs have fewer dependencies than a full-blown KDE application.
If that works, try running a simple KDE application, such as lskat.exe from the kdegames package.
Look into your start menu: there will be a new entry KDE 4.XX.XX Release. Below that folder you can find all the apps you installed.
Startup, shutdown, and diagnosing problems
The first KDE program you run should automatically invoke kdeinit4.exe, the KDE initialization app, which starts background KDE applications and services like dbus-daemon, klauncher and kded4. http://techbase.kde.org/Projects/KDE_on_Windows/Installation The first time you save or open, another background application, kioslave, will start.
These background KDE applications and services remain running after you close KDE applications. If you want you can shut them down by running kdeinit4 --terminate from a command prompt.
You can run kdeinit4 --list from a command prompt to see what processes are running. kdeinit4 has other useful options documented elsewhere.
[/Fine-tuning Fine-tuning]
Find the section now at [/Fine-tuning]
